Install on macOS
By the end of this page Virtue FX Manager will be installed as a REAPER extension and reachable from the REAPER Action List.
Virtue FX Manager for macOS ships as a signed and notarized installer package
(.pkg) inside a disk image (.dmg). It installs a single REAPER extension
file — it is not a standalone application and does not appear in your
Applications folder.
Install
Section titled “Install”-
Open the disk image.
Double-click the downloaded
vfxm-mac.dmg. The volume window contains theVirtueFXManager.pkginstaller and the Uninstall Virtue utility.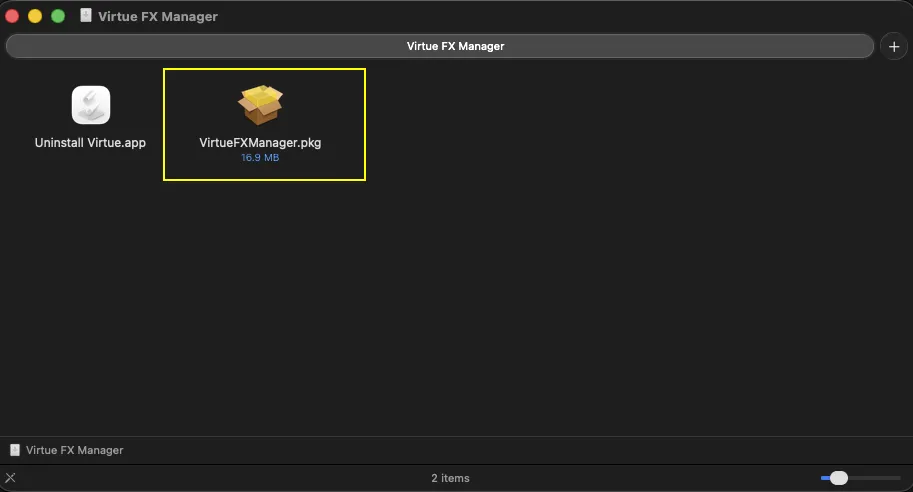
-
Run the installer package.
Double-click
VirtueFXManager.pkgand click Continue on the welcome screen.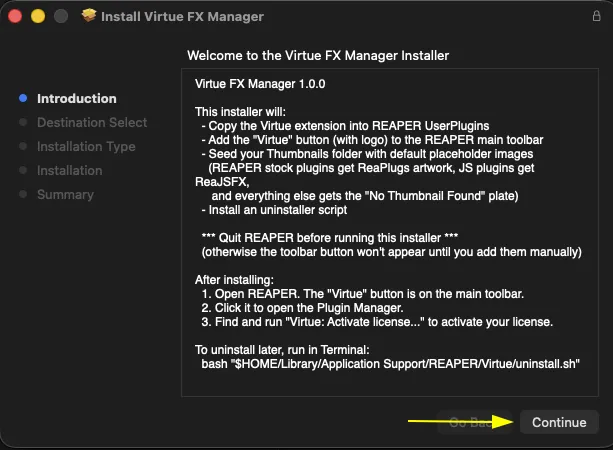
-
Confirm the destination and install.
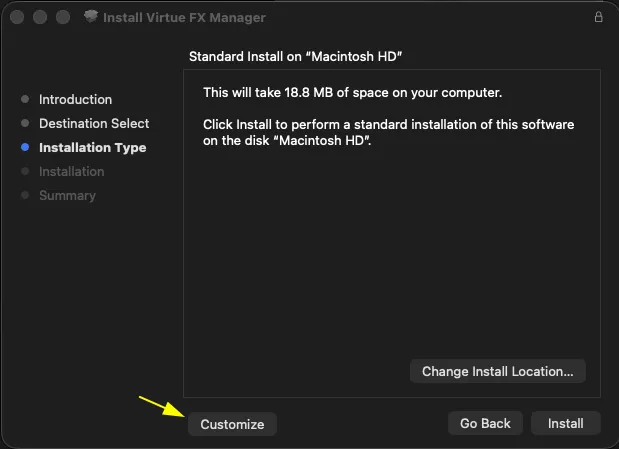
Click Install to perform a standard installation on your primary drive. This copies the native extension
reaper_virtue.dylibinto REAPER’sUserPluginsfolder. macOS will ask for your password — this is the standard installer authorisation.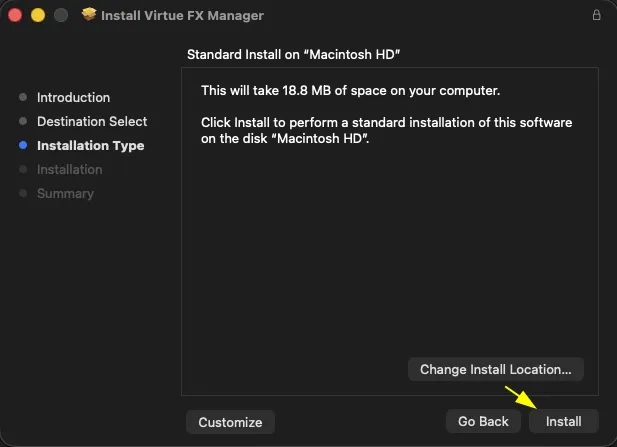
-
Finish.
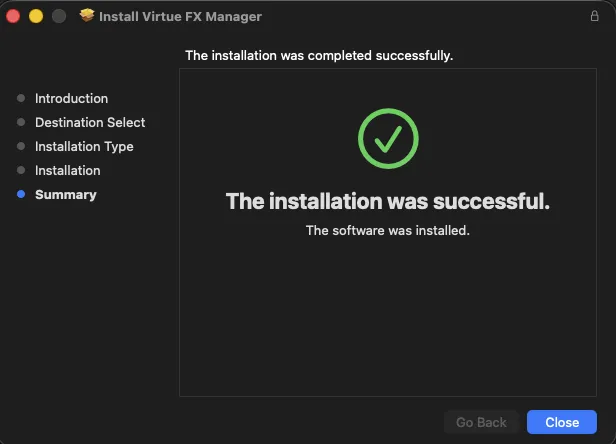
Click Close when the installer reports success.
-
Launch it in REAPER.
Open REAPER, press ? to open the Action List, search for Virtue FX Manager, and run the action. The window opens over REAPER.
Verify the download (optional)
Section titled “Verify the download (optional)”The download page publishes a SHA-256 checksum for each release. To confirm the file you downloaded matches it:
shasum -a 256 vfxm-mac.dmgCompare the output with the checksum on the download page. They must match exactly.
Starting fresh (rarely needed)
Section titled “Starting fresh (rarely needed)”Updating never removes anything you have made — you can skip this section entirely unless you actually want to throw your library away.
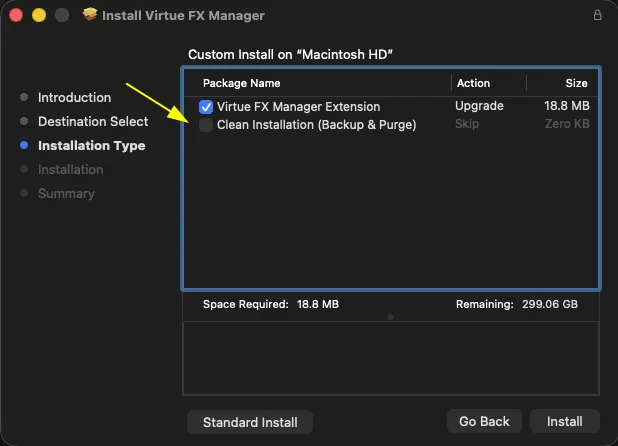
If you do, the installer offers an option that clears your favourites, tabs, thumbnails, notes, categories and settings, then installs as though for the first time. It is meant for troubleshooting a configuration that has gone wrong, not for routine updates. Everything it removes is copied to a dated folder on your Desktop first, so nothing is unrecoverable.
-
In the installer, click Customize instead of Install.
-
Tick Erase my favourites and start fresh, then continue with the installation. Leaving it unticked is a normal update.
What the installer writes
Section titled “What the installer writes”| Path | Contents |
|---|---|
~/Library/Application Support/REAPER/UserPlugins/reaper_virtue.dylib |
The REAPER extension itself |
~/Library/Application Support/REAPER/Virtue/ |
Your data: settings, favourites, thumbnails, notes, themes |
The installer does not modify REAPER’s application bundle or any of REAPER’s own
files. Updating or reinstalling preserves everything in the Virtue/ folder.
Next steps
Section titled “Next steps”- Activate your licence — start a trial or enter a purchased key.
- Quick start — first scan and first plugin insert.
- macOS permissions and Gatekeeper — if the extension does not appear in REAPER.