General settings
Open Settings (gear icon) for VFxM’s general preferences.
Language
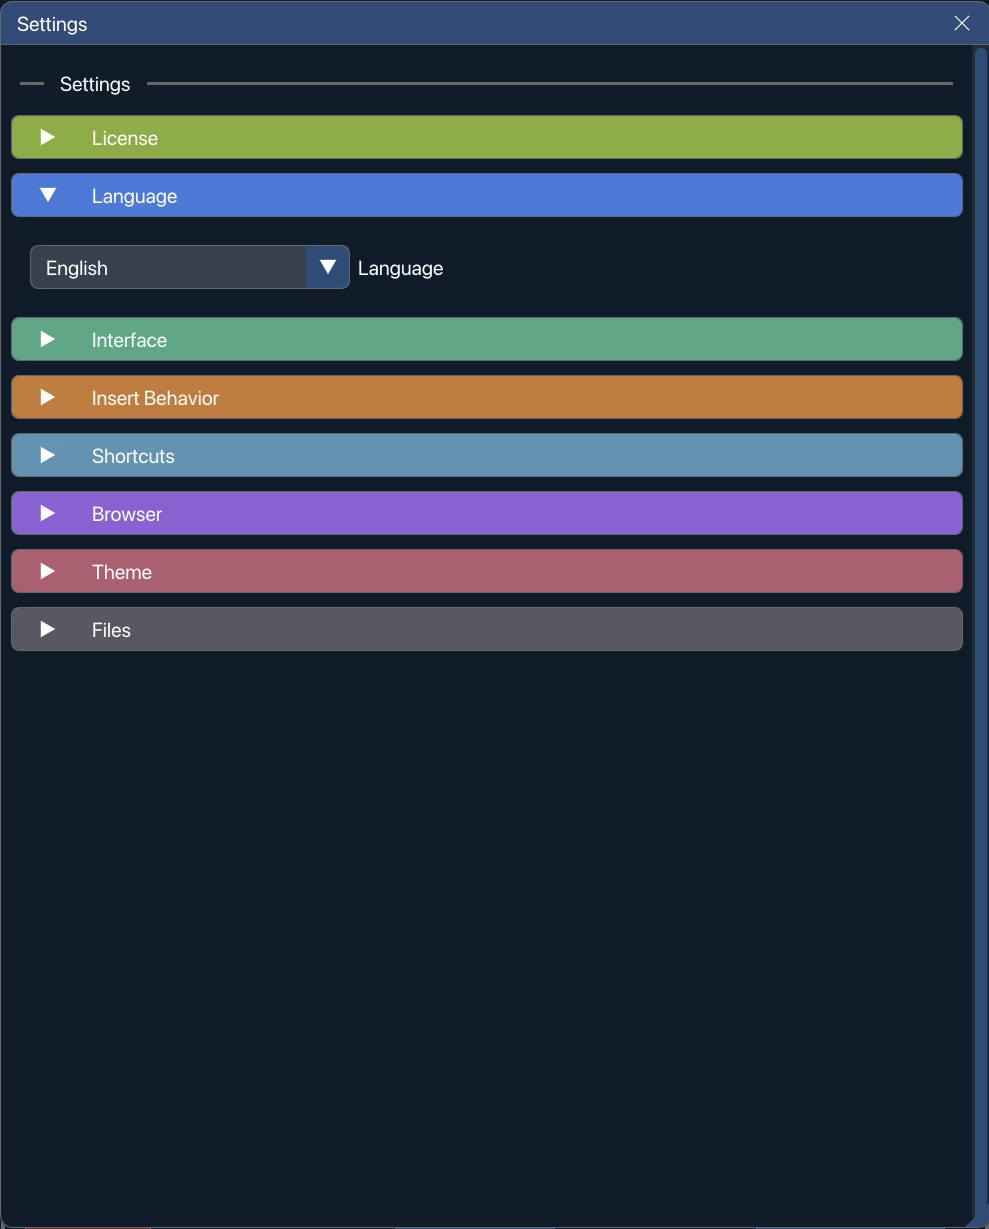
Section titled “Language”VFxM localizes menus, status bars, and tooltips. Changing the language here takes effect immediately across the whole interface — no restart needed.
Interface
Section titled “Interface”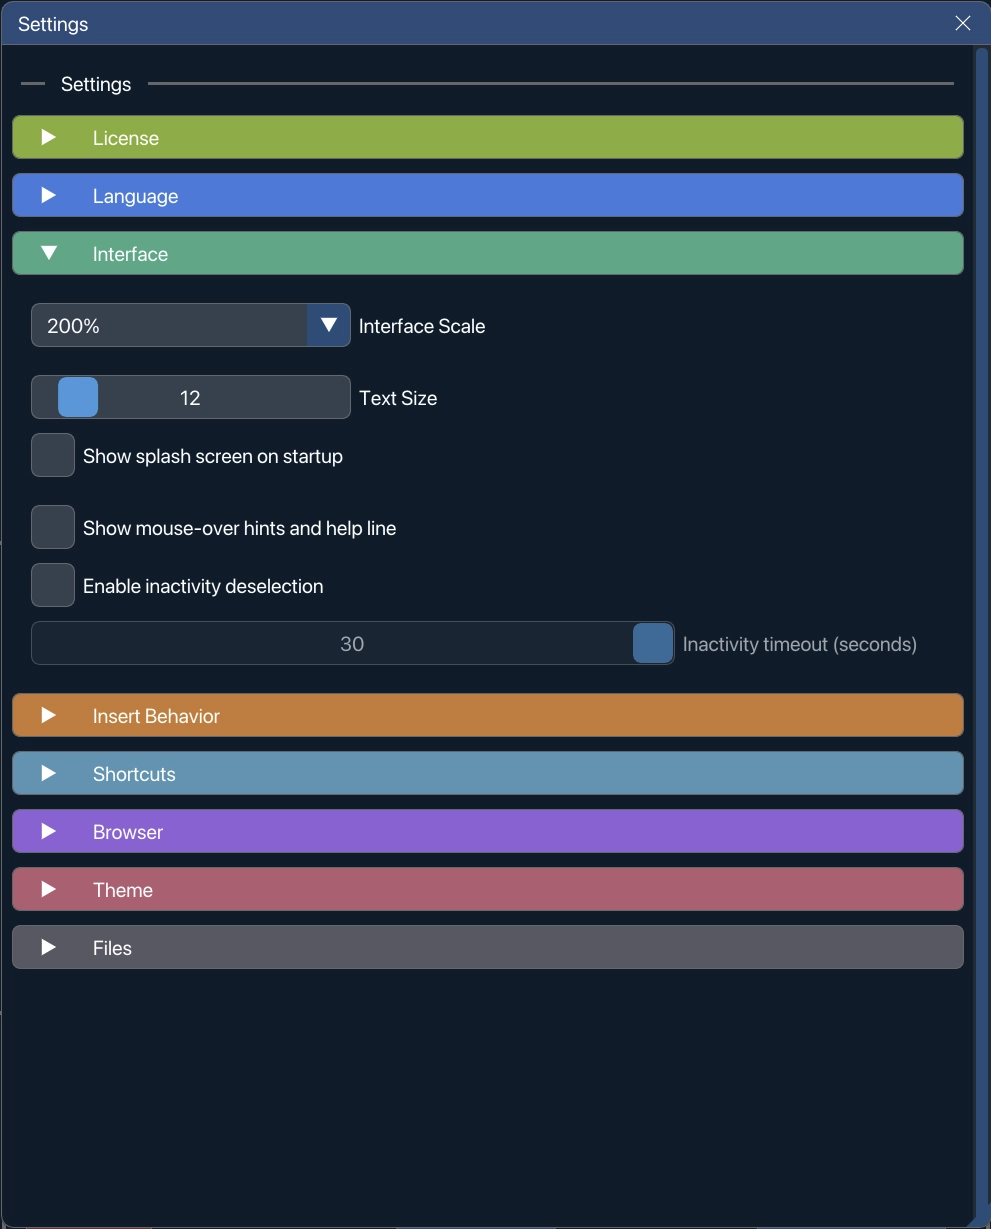
The search box clearing itself
Section titled “The search box clearing itself”VFxM empties the search box a while after you click away from it, so the list you come back to is the whole library rather than the last thing you looked for. From 1.2.2 that is yours to set, here in Interface:
- Clear the search box when it is left alone — untick it and the search box keeps what you typed until you change it yourself.
- Clear search after (seconds) — anything from 0 to 30, and the default is 20. At 0 the search clears the moment focus leaves the box.
Before 1.2.2 it cleared after ten seconds and there was no way to change it or switch it off, which meant it could empty while you were still reading the results. From 1.2.3 the countdown starts two seconds after your last keystroke rather than when you click away, and typing, clicking in the results or scrolling resets it.
Show mouse-over hints and help line
Section titled “Show mouse-over hints and help line”On by default. VFxM writes a line of help at the bottom of the window for whatever the mouse is over, and shows the delayed tooltips that go with it. Untick this and both go away — the help line and the hover tooltips — for a quieter window once you know your way around.
From 1.2.5 a hover-tips button in the top bar switches every hint on and off in one click. Names and cues always show.
Enable inactivity deselection
Section titled “Enable inactivity deselection”Also on by default. When you stop touching VFxM, it clears your plugin selection, so you come back to the whole library rather than to a selection you have forgotten making.
- Inactivity timeout (seconds) — anything from 5 to 30. The slider is greyed out while the tick box above it is off.
This is a different timer from the search box clearing itself above. This one drops the selection; that one empties the search box.
Insert Behavior
Section titled “Insert Behavior”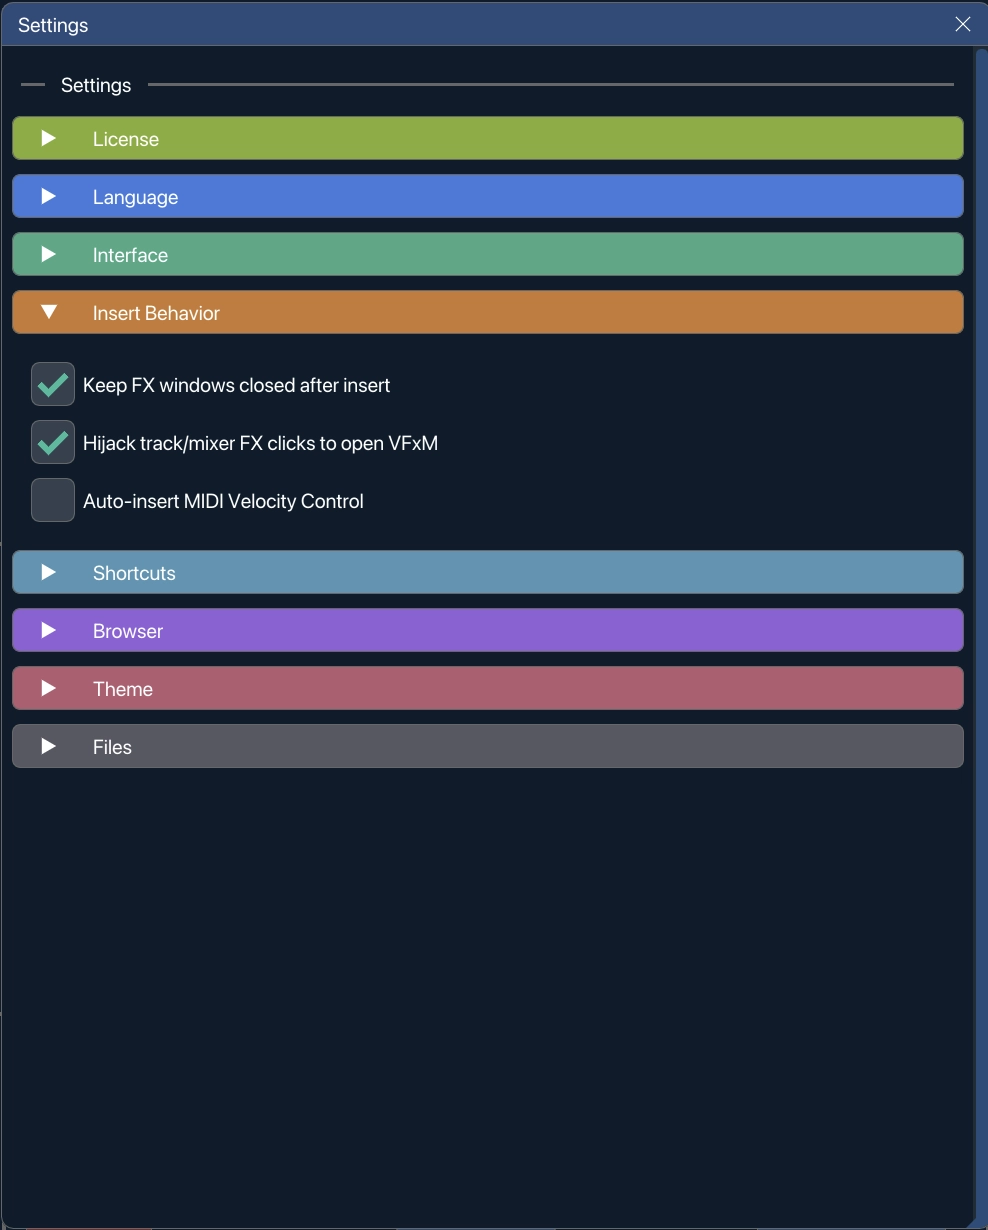
Three tick boxes, covering what happens around a plugin the moment VFxM puts it on a track.
Keep FX windows closed after insert
Section titled “Keep FX windows closed after insert”REAPER opens a plugin’s own window when the plugin lands on a track. With this ticked, VFxM closes that window again straight after the insert, so adding six plugins to a chain leaves you with the chain rather than six floating windows. Untick it and every insert opens its window the way REAPER does on its own.
It applies to inserts on a track, on an item take and on the master.
Hijack track/mixer FX clicks to open VFxM
Section titled “Hijack track/mixer FX clicks to open VFxM”Clicking the FX button on a track or in the mixer normally opens REAPER’s own FX chain window. With this ticked, that click opens VFxM instead. VFxM also watches for a REAPER FX chain window appearing and closes it, so the takeover holds for the routes that do not go through the button.
Your own VFxM shortcuts and menu actions are unaffected either way; this setting only changes what REAPER’s FX buttons do.
Auto-insert MIDI Velocity Control
Section titled “Auto-insert MIDI Velocity Control”Only applies when the plugin you are inserting is an instrument. With this ticked, VFxM adds REAPER’s JS MIDI Velocity Control utility to the track ahead of the instrument, moves it to the first slot, and sets its Min Velocity to 120 and Max Velocity to 125 — a fixed velocity into the instrument, which is what you want for a part played from a controller whose velocity curve you are not relying on.
If the track already has a MIDI Velocity Control, VFxM moves that one to the first slot and re-sets those two values instead of adding a second. Its window is always kept closed, whatever the setting above is set to. If the instrument’s own insert then fails, a MIDI Velocity Control that VFxM had just added for it is removed again.
Effects are never touched by this setting.
Browser
Section titled “Browser”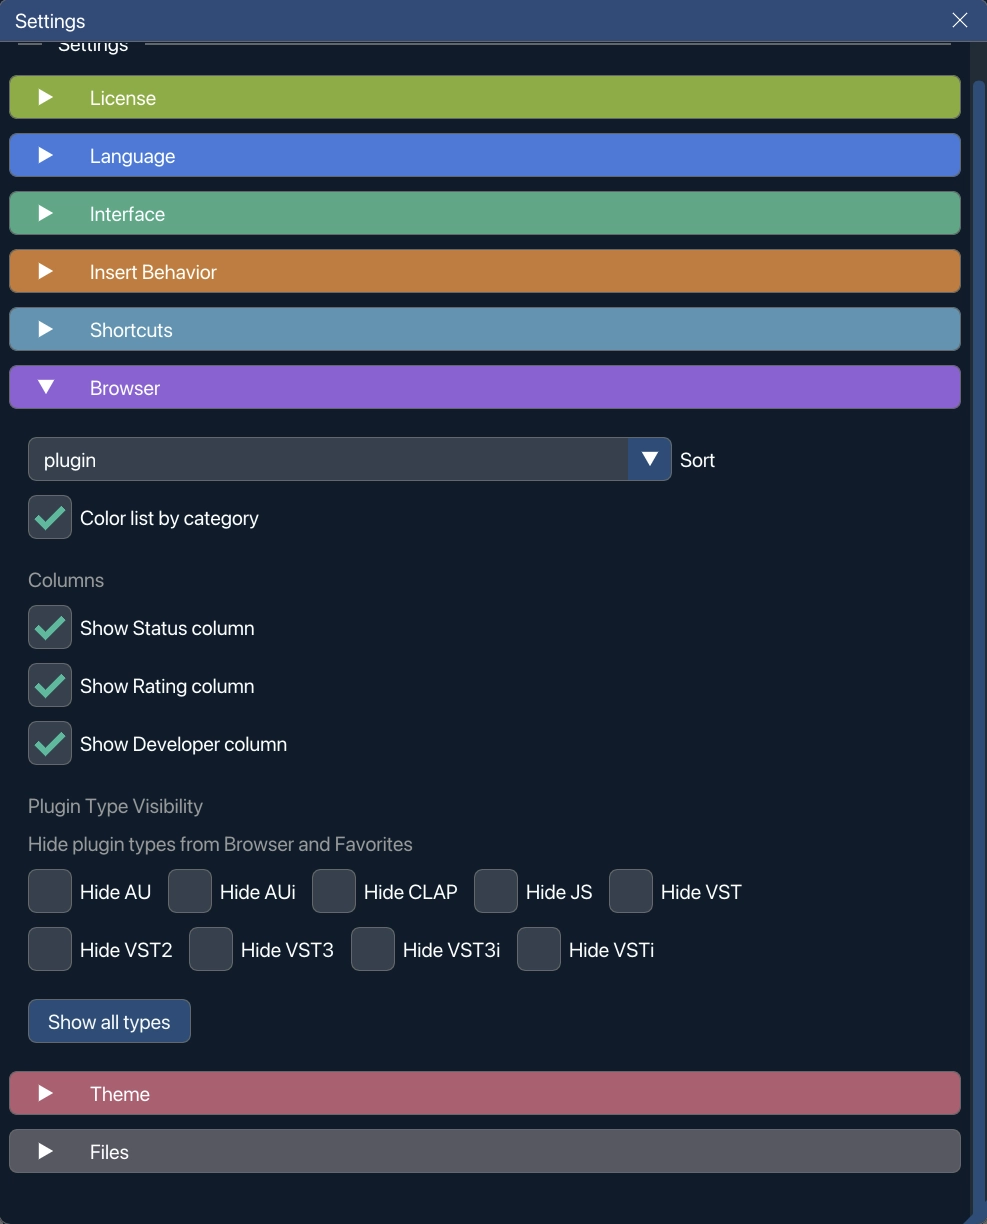
Show categories as
Section titled “Show categories as”Dots (the default) or Tags — how the plugin list marks each plugin’s categories. It sits just above Columns, and the same switch is in the plugin list header’s right-click menu. See dots or tags. (1.2.3)
Columns
Section titled “Columns”The Columns switches here — Status, Rating, Developer — are the same list the plugin list’s header menu and View → Columns read, so a column offered in one place is offered in all three. (1.2.3)
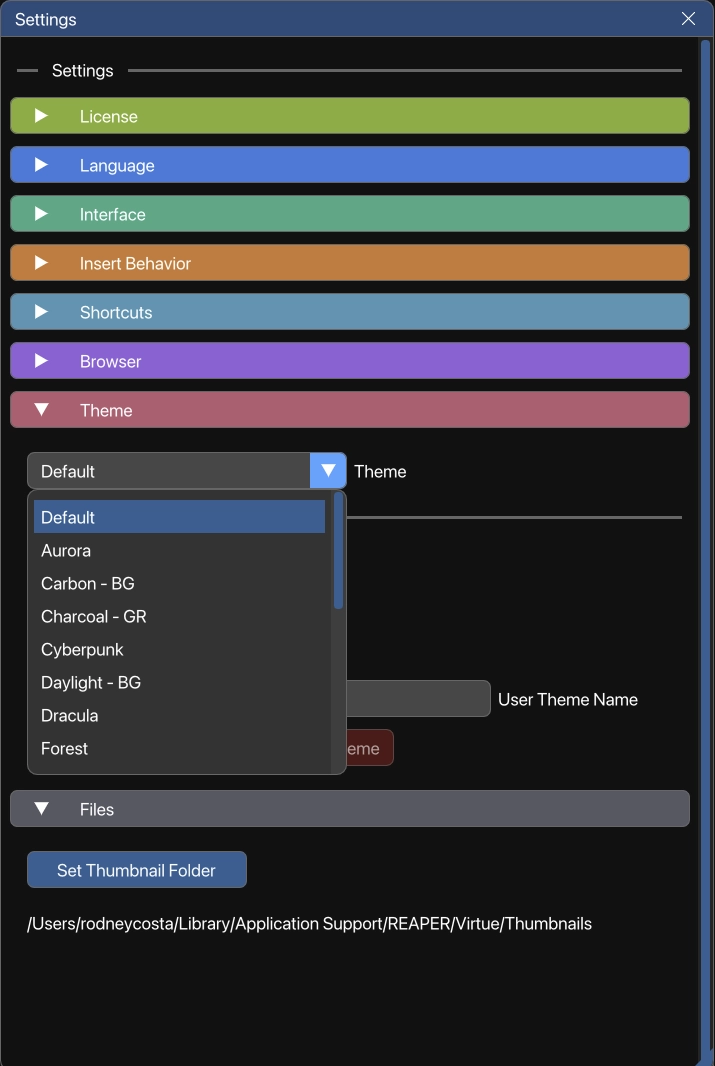
VFxM ships 20 built-in themes — Default, Aurora, Carbon - BG, Charcoal - GR, Cyberpunk, Daylight - BG, Dracula, Forest, Gruvbox, Magma, Midnight - BG, Mono, Nordyy, Nordyy - KB, Oblivion, Ocean, ReaVirtue, Solarized Dark, Sunset and Tokyo Night — and you can edit any colour and keep the result as your own palette with Save Current Palette. Pick one here, under Settings → Theme. Click a name below to see the same Library view in seven of them.

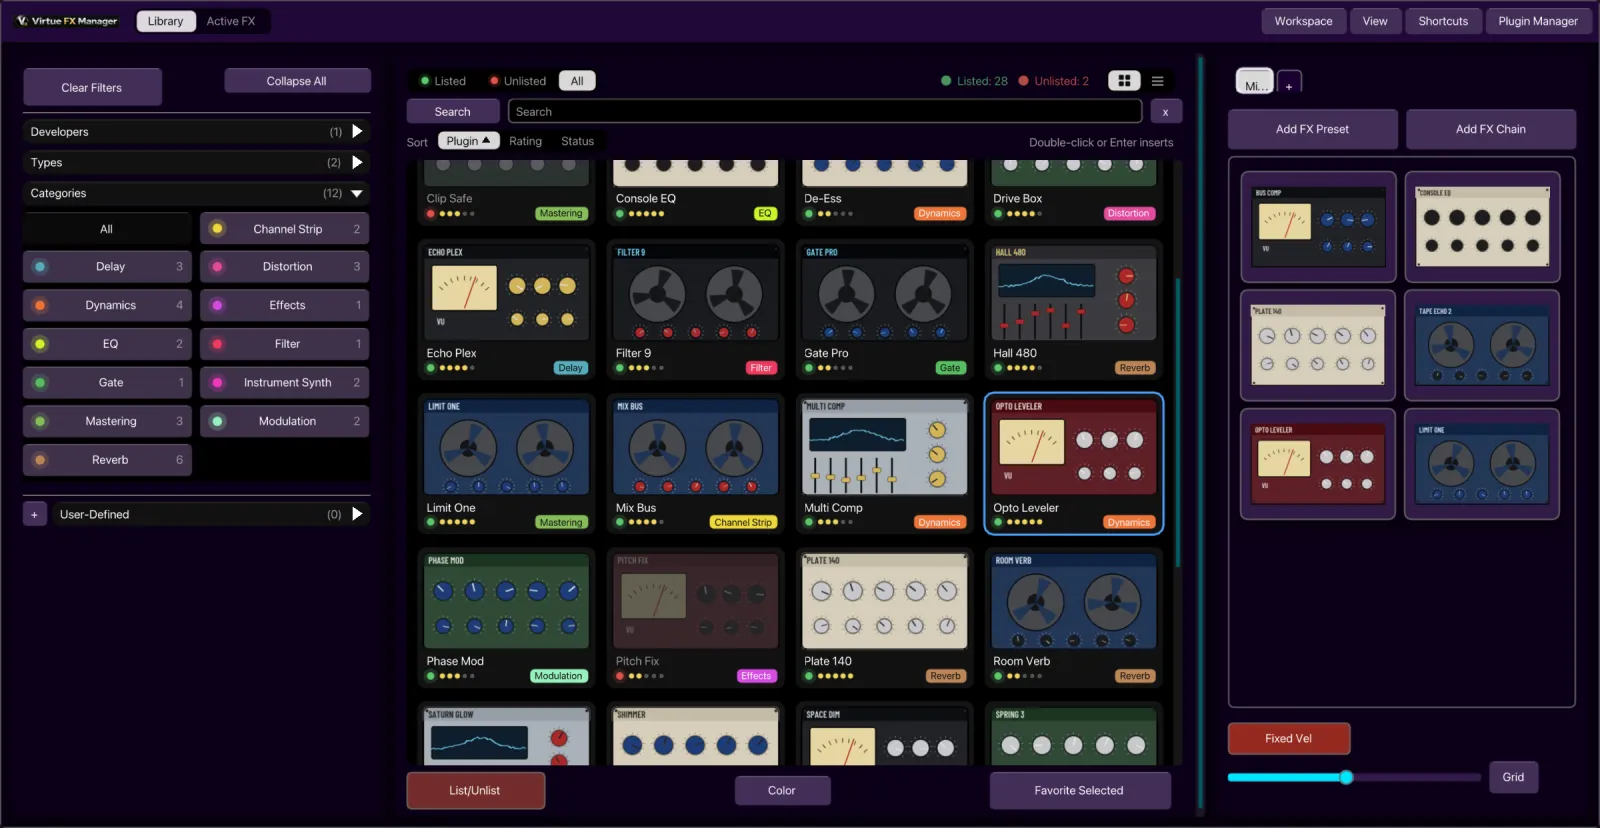
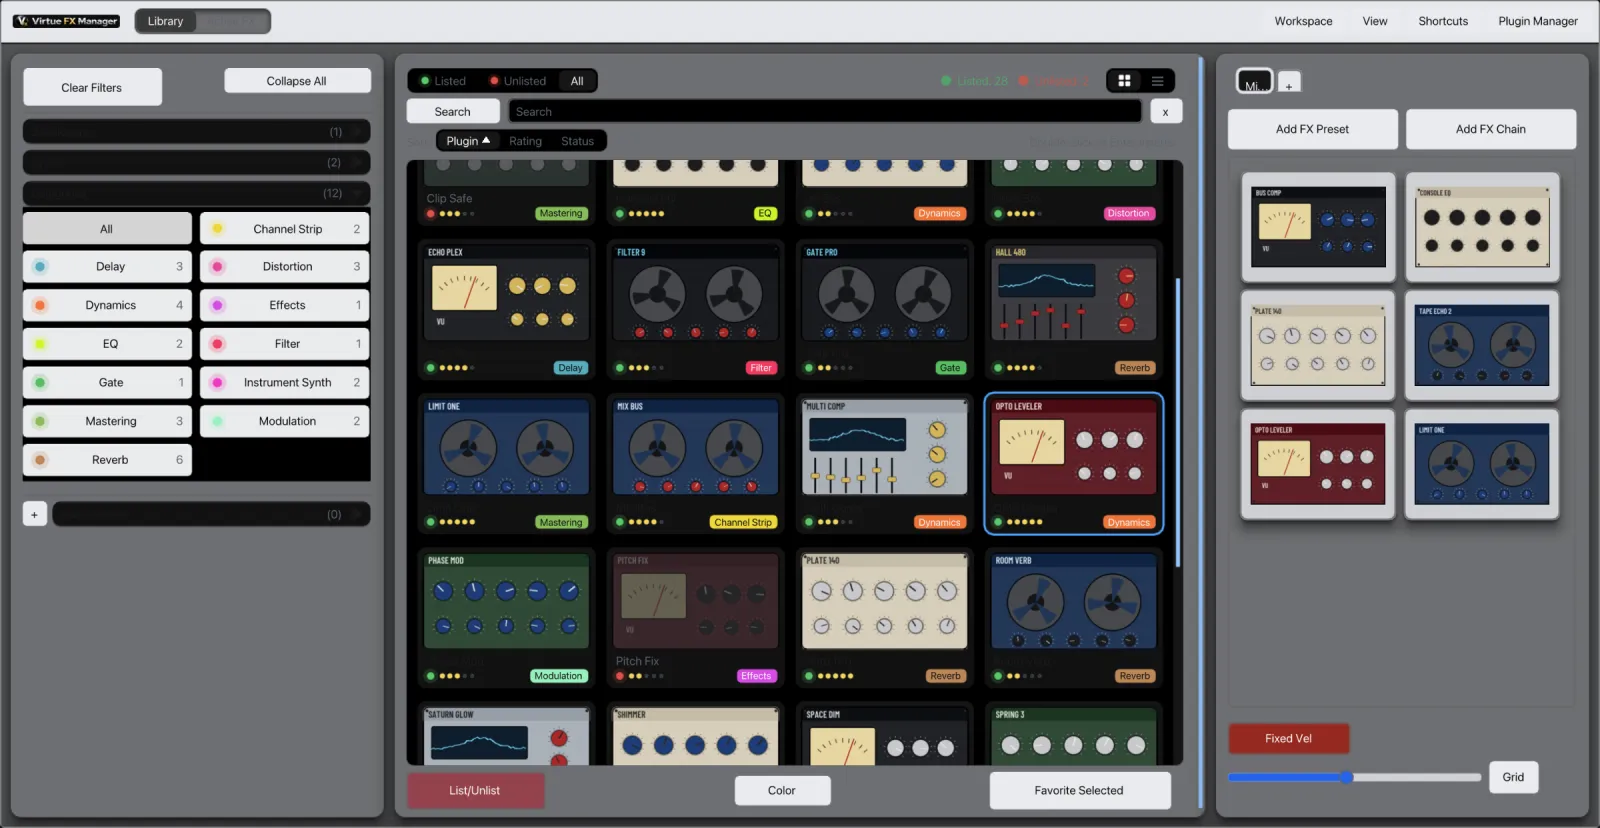
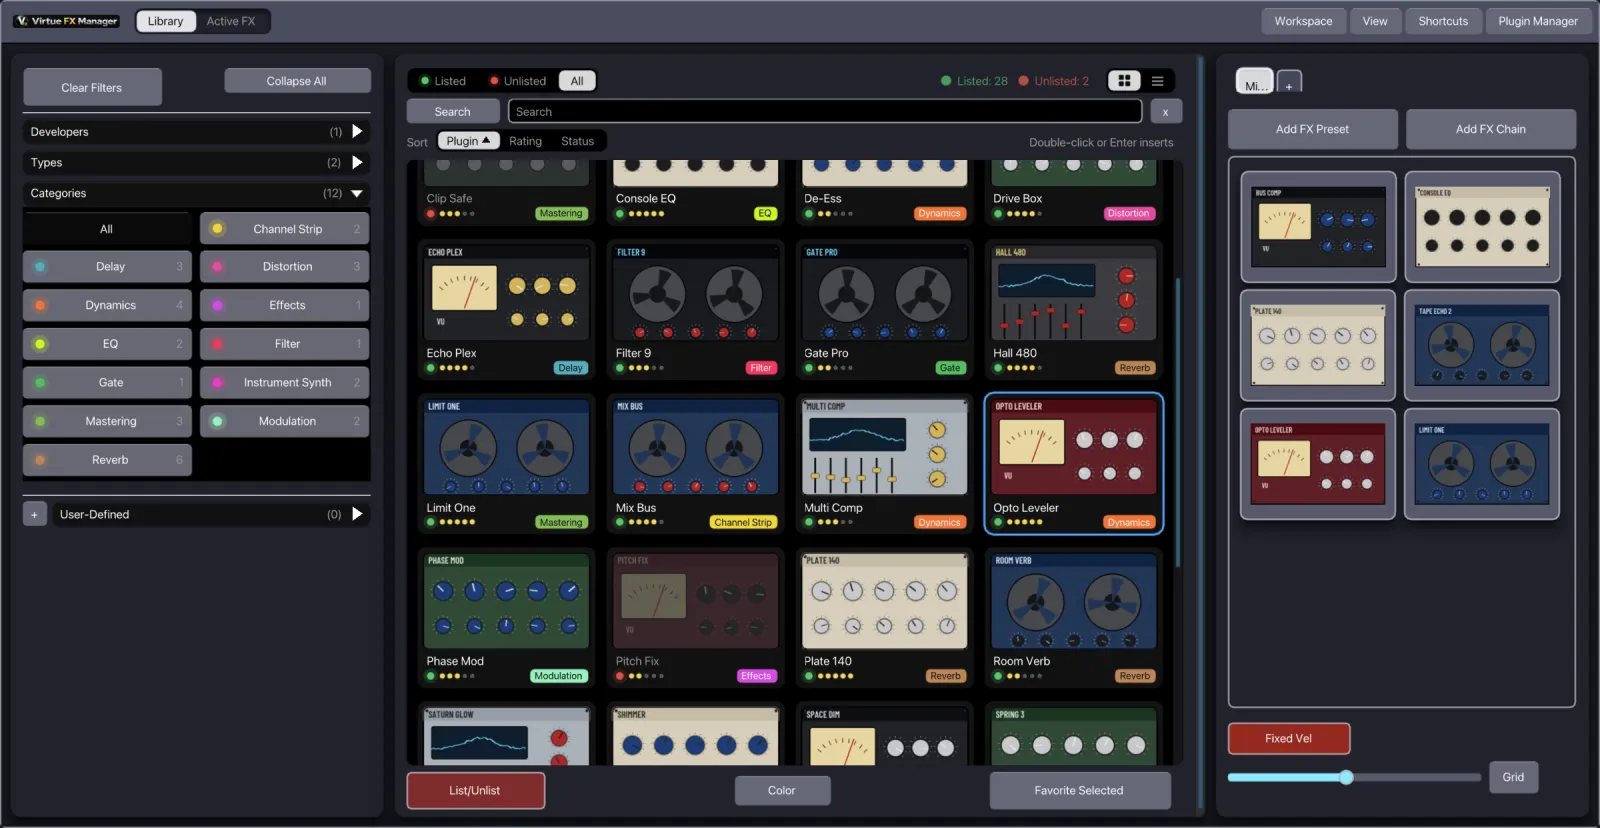
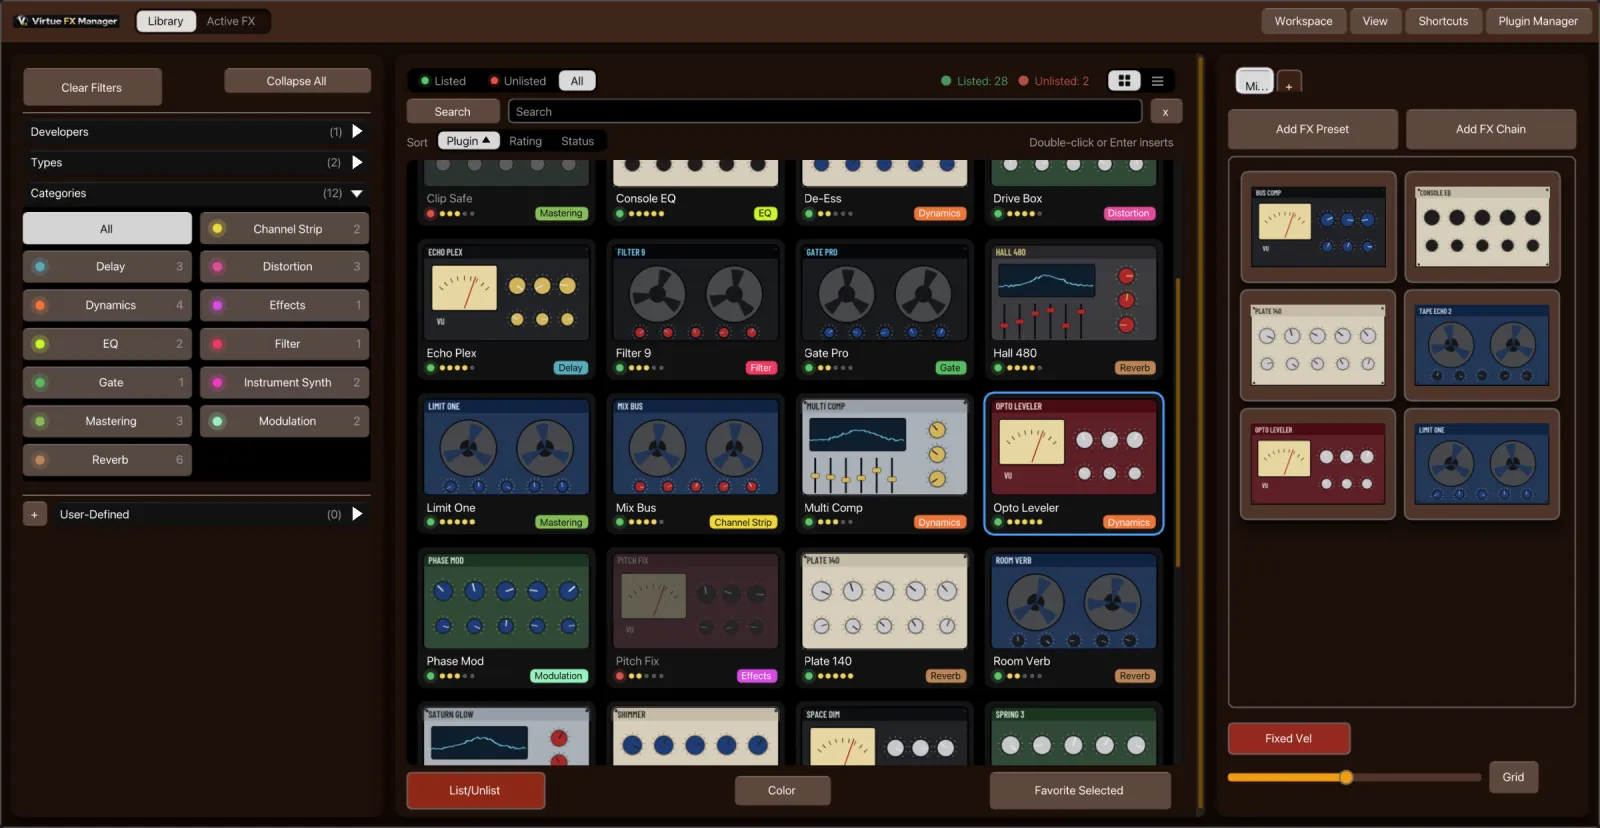
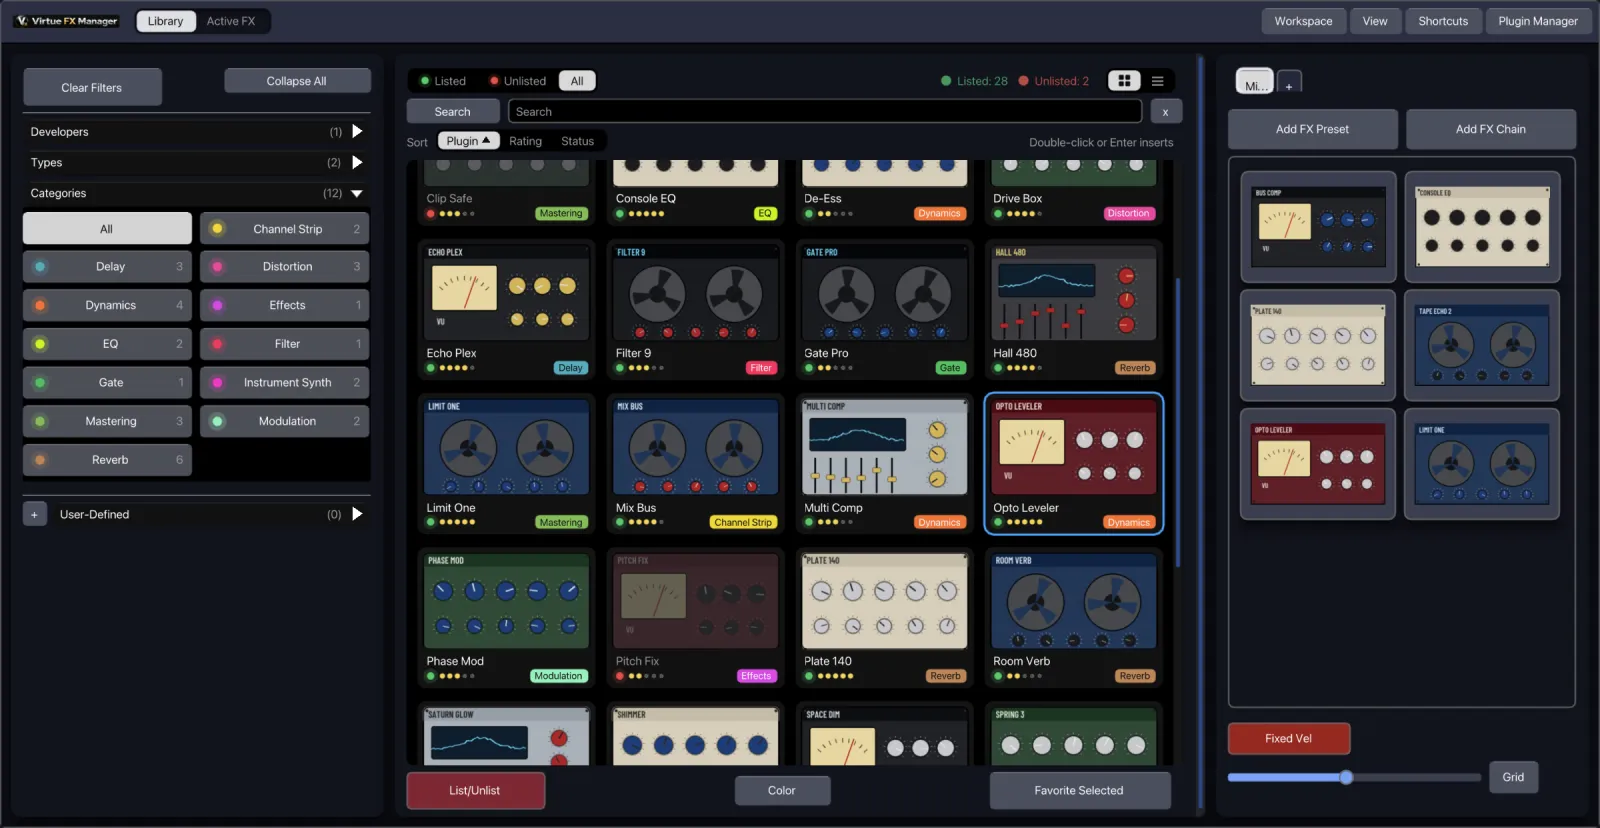
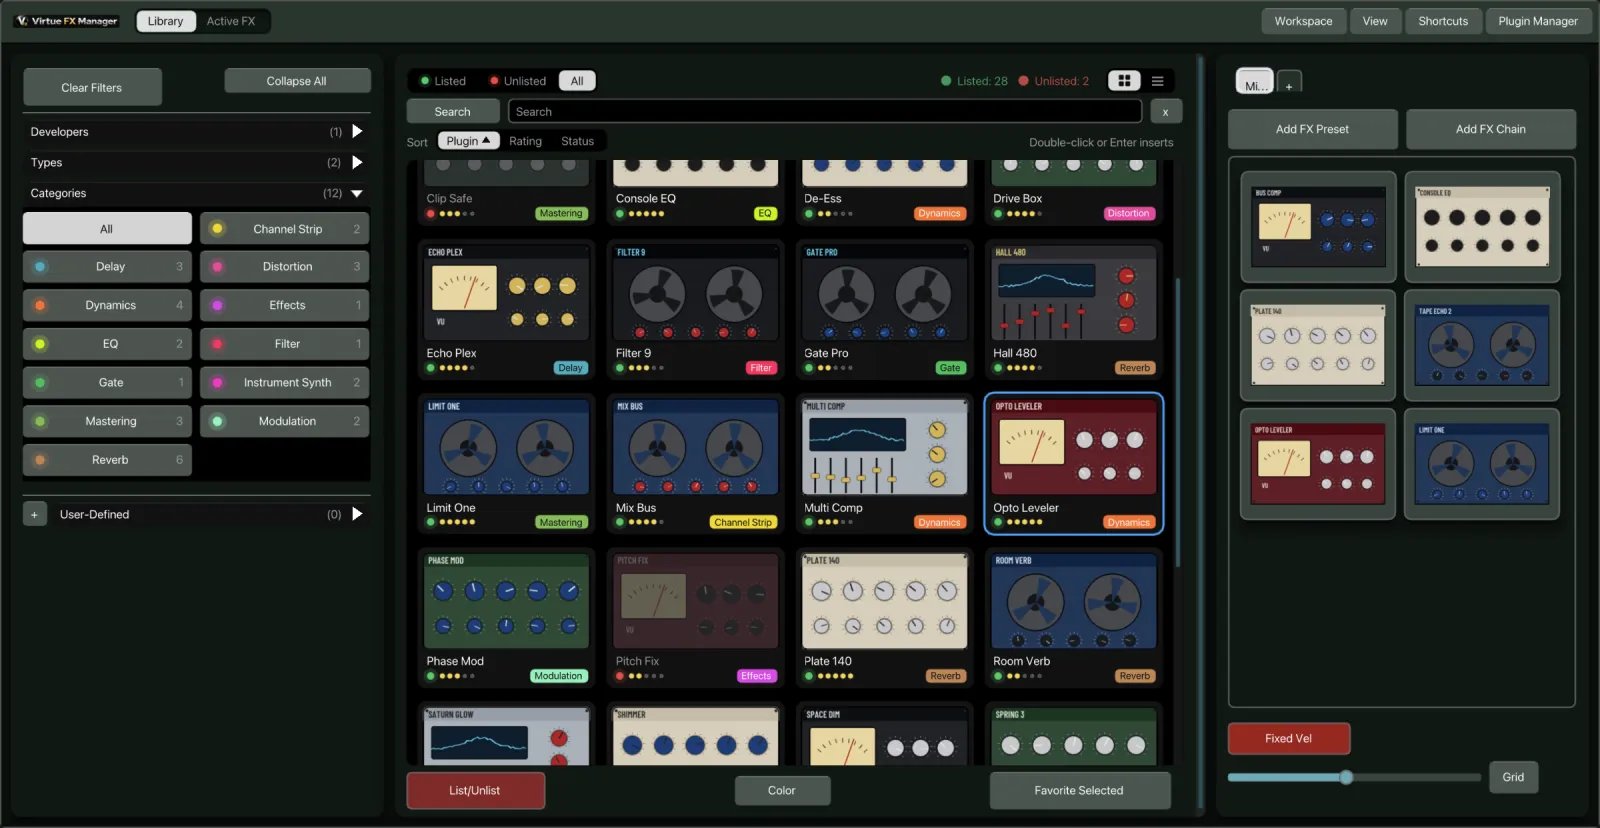
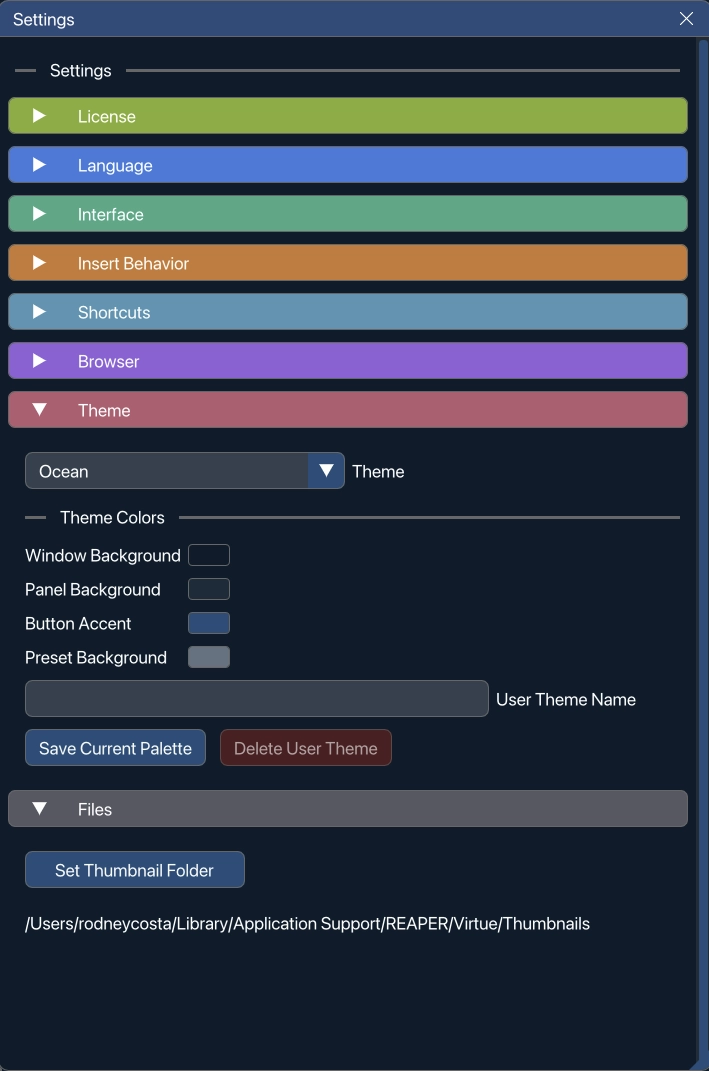
From 1.2.3 the plugin list’s background is its own colour, Plugin List Background, under Panel Background. A theme that does not set it keeps the panel colour, so nothing changes until you pick one; Save Current Palette carries it into your theme.
Style and Animations (1.2.5)
Section titled “Style and Animations (1.2.5)”- Style — Modern or Vintage. Modern has raised panels with soft shadows and content in pressed-in wells. Vintage is the classic look, with the new controls drawn flat in the theme’s colours. Every colour comes from the theme, so all built-in themes and your own apply to both.
- Animations — on by default. Cards re-deal when you pick a category, and a plugin’s picture flies to the Active FX tab when you insert it. Off, there is no motion. REAPER inserts at once either way.
Your own themes
Section titled “Your own themes”Edit any colour on a built-in theme and the change is live, but it is not yet a theme of its own. To keep it:
- Type a name in User Theme Name.
- Click Save Current Palette.
The palette is saved under that name, selected straight away, and listed in the theme dropdown beside the 20 built-in ones. Saving again under a name you have already used overwrites it; a built-in theme’s name is refused, so you cannot write over Dracula or Nordyy by accident.
Delete User Theme removes the theme you currently have selected and puts you back on Default. It is only available while a theme of your own is selected — the 20 built-in themes cannot be deleted.
Splash screen on startup
Section titled “Splash screen on startup”By default, VFxM shows a splash screen each time it opens. Uncheck Show splash screen on startup — available both on the splash screen itself (bottom-left) and here in Settings — to skip straight to the main window on future launches. This does not affect the trial/activation flow; if VFxM ever needs to show a licensing prompt, it will.
Interface Scale
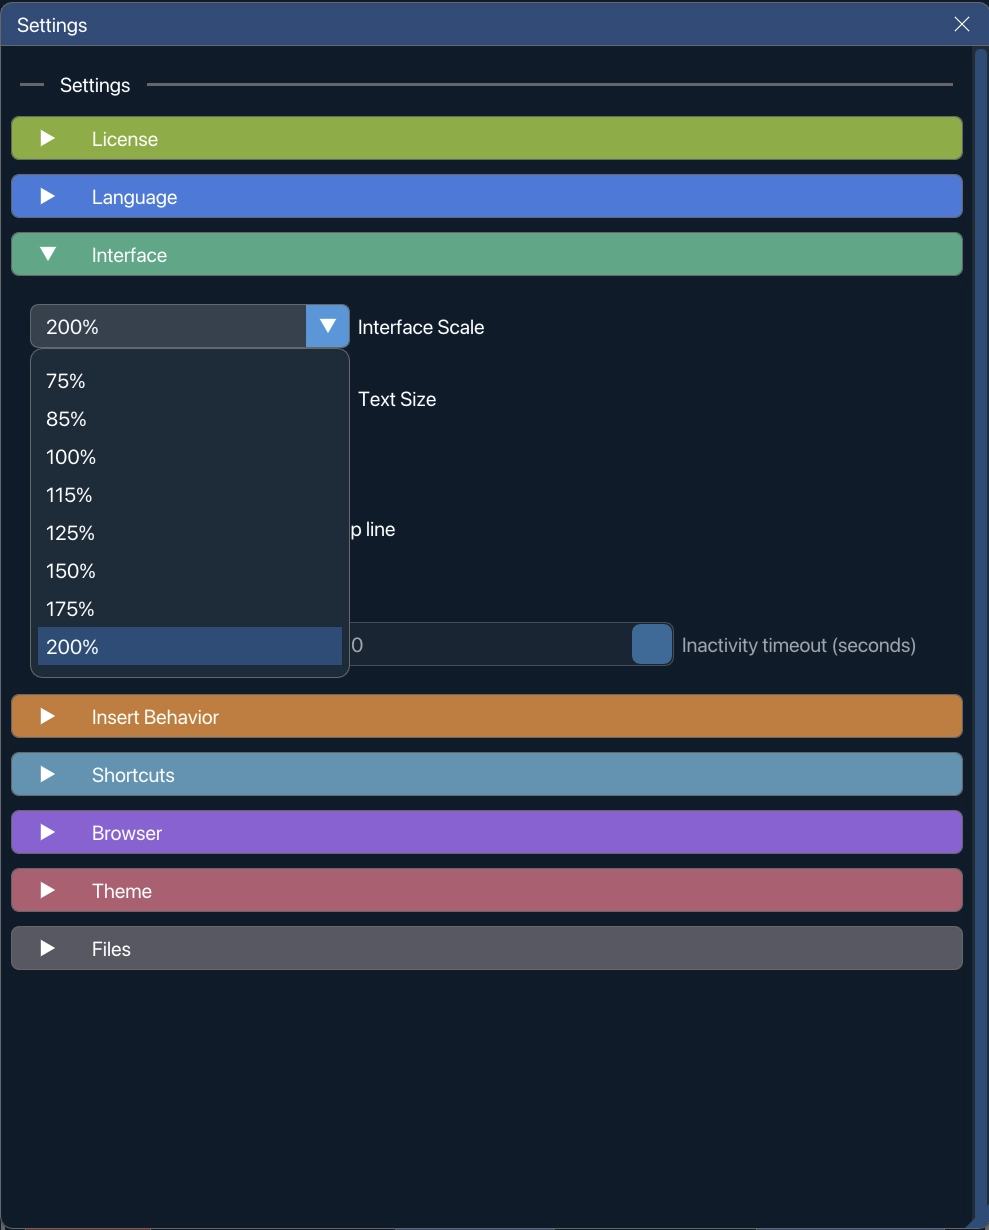
Section titled “Interface Scale”Interface Scale, in Settings → Interface, sizes VFxM’s whole interface in eight steps — 75%, 85%, 100%, 115%, 125%, 150%, 175% and 200%. It is a dropdown, and nothing between the steps is selectable. Lower it to fit more on a laptop screen, raise it for a 4K display or for comfort. The change applies immediately and is remembered.
The two largest steps scale padding, frame heights and button minimums along with the text, so nothing clips out of its panel at the top of the range. In 1.1.1 the range was capped at 150% because only the font scaled; 175% and 200% came back once everything around the text scaled with it. Scale steps of 50% and 60% were dropped for good — on a 4K display they rendered the interface close to invisible. See the changelog for that history.
Text Size
Section titled “Text Size”A separate slider, directly under Interface Scale, sets the font size on its own — 10 to 32 px. Interface Scale sizes everything; Text Size moves only the text, so you can keep the layout you have and make the names easier to read. The value applies when you let go of the slider, not while you drag it.
Window position and layout
Section titled “Window position and layout”VFxM remembers its window position, its size, and the proportions of its panels between sessions. Move the window, resize the panels, quit REAPER, and it comes back exactly as you left it.
If the display it was last used on is no longer connected, VFxM brings itself back onto a screen you can actually see rather than opening off the edge.
On a first launch, panels are fitted to your real window size instead of fixed percentages, so plugin names are not cut off before you have touched anything.
Saved workspaces
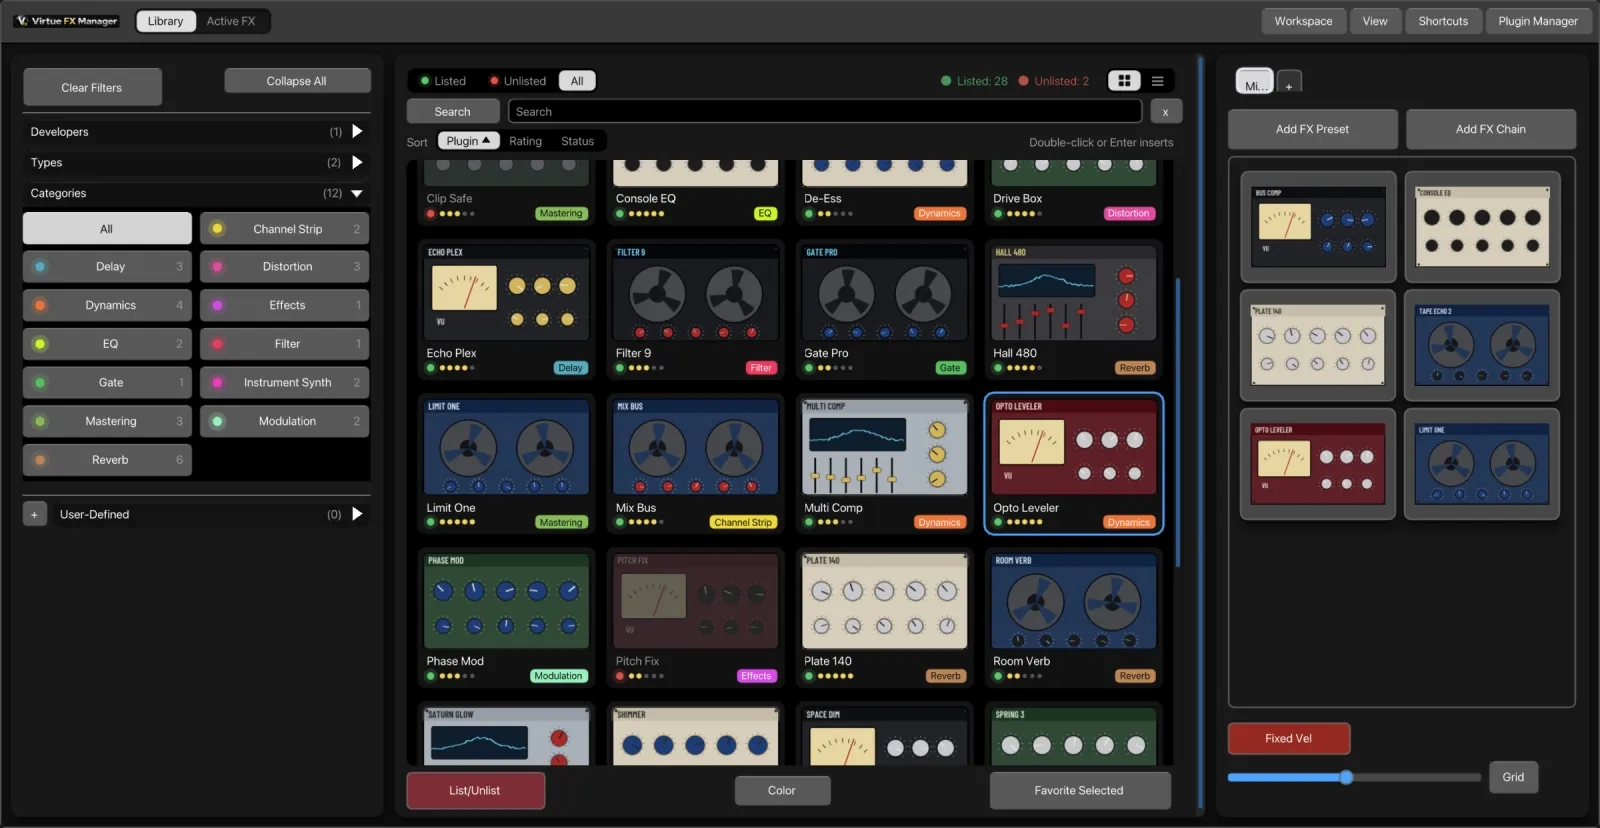
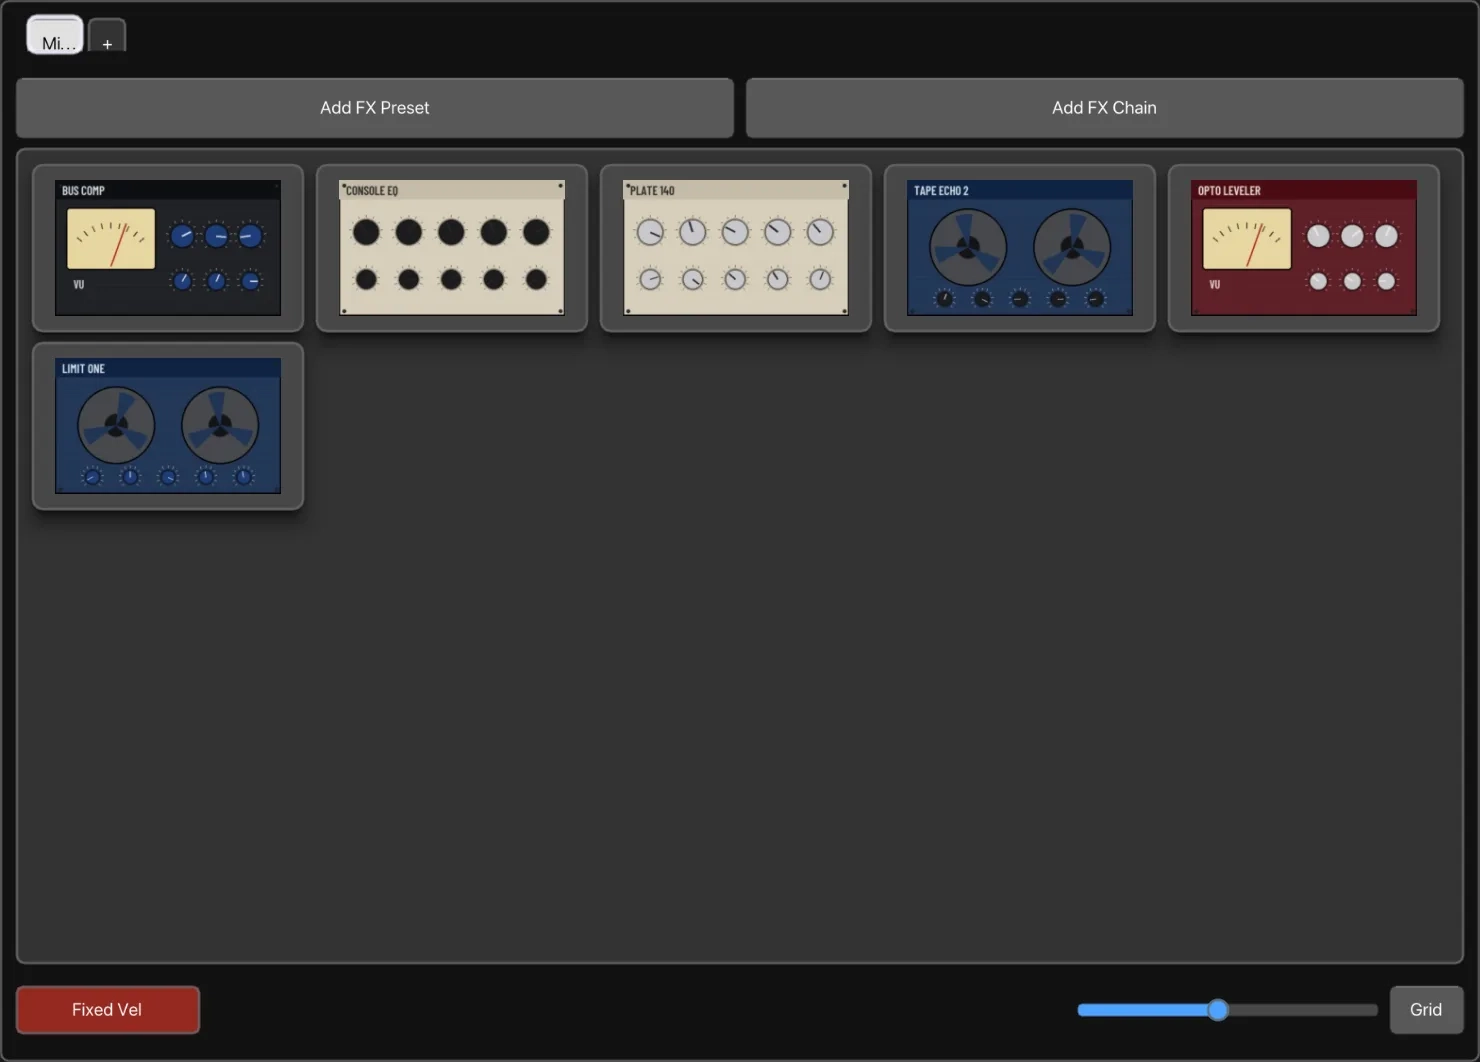
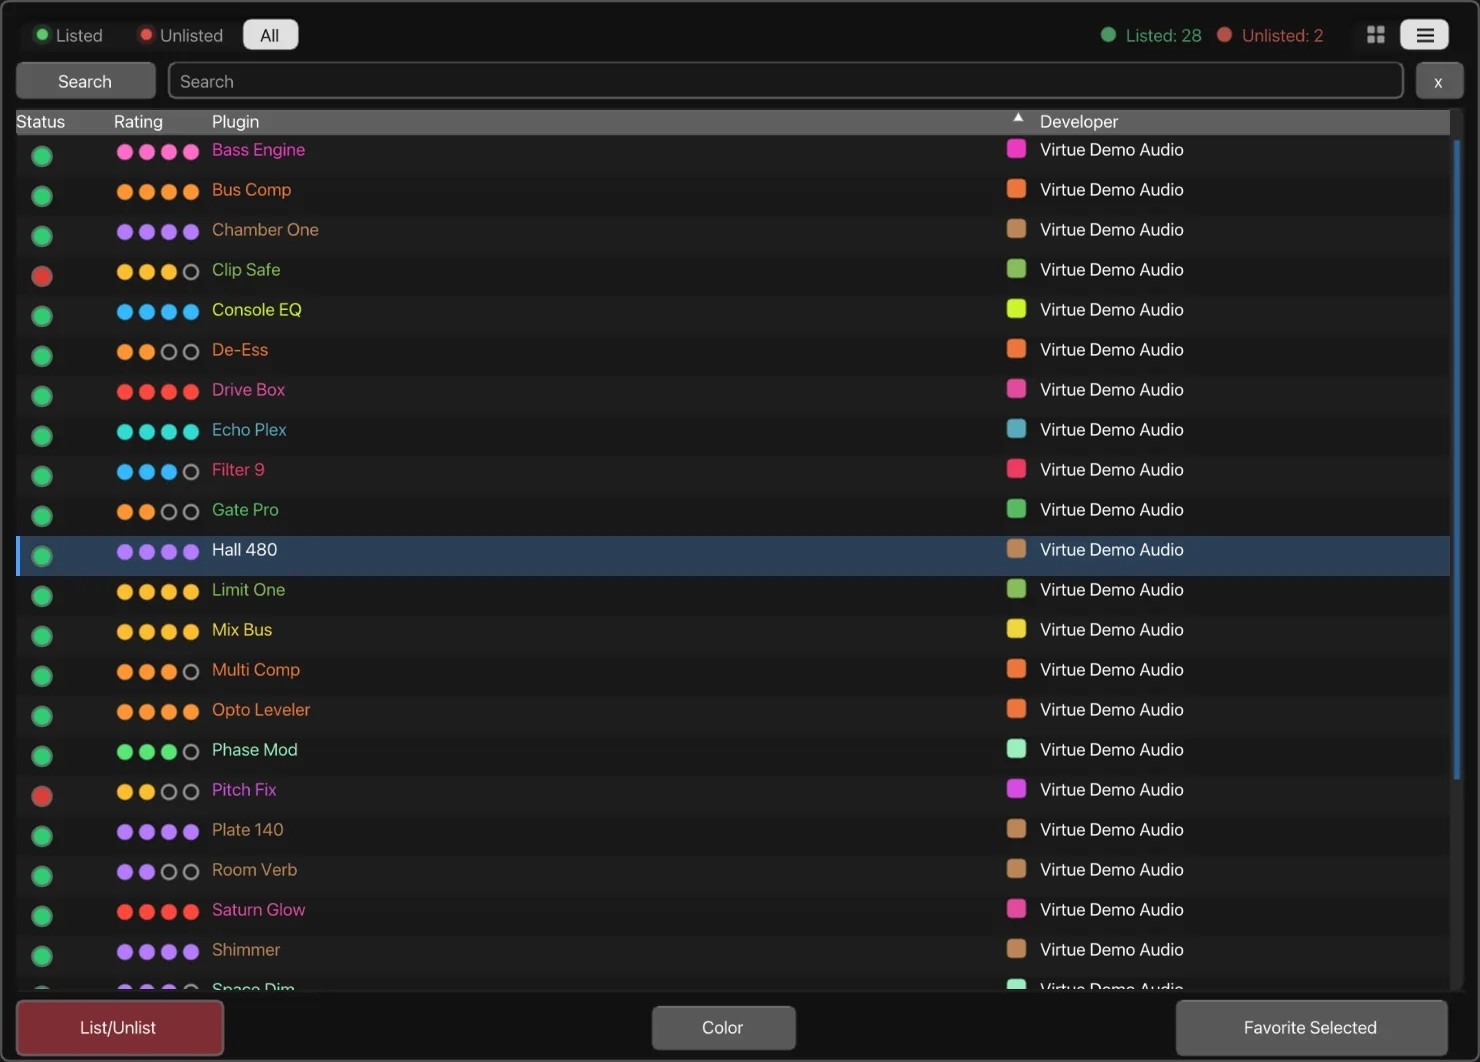
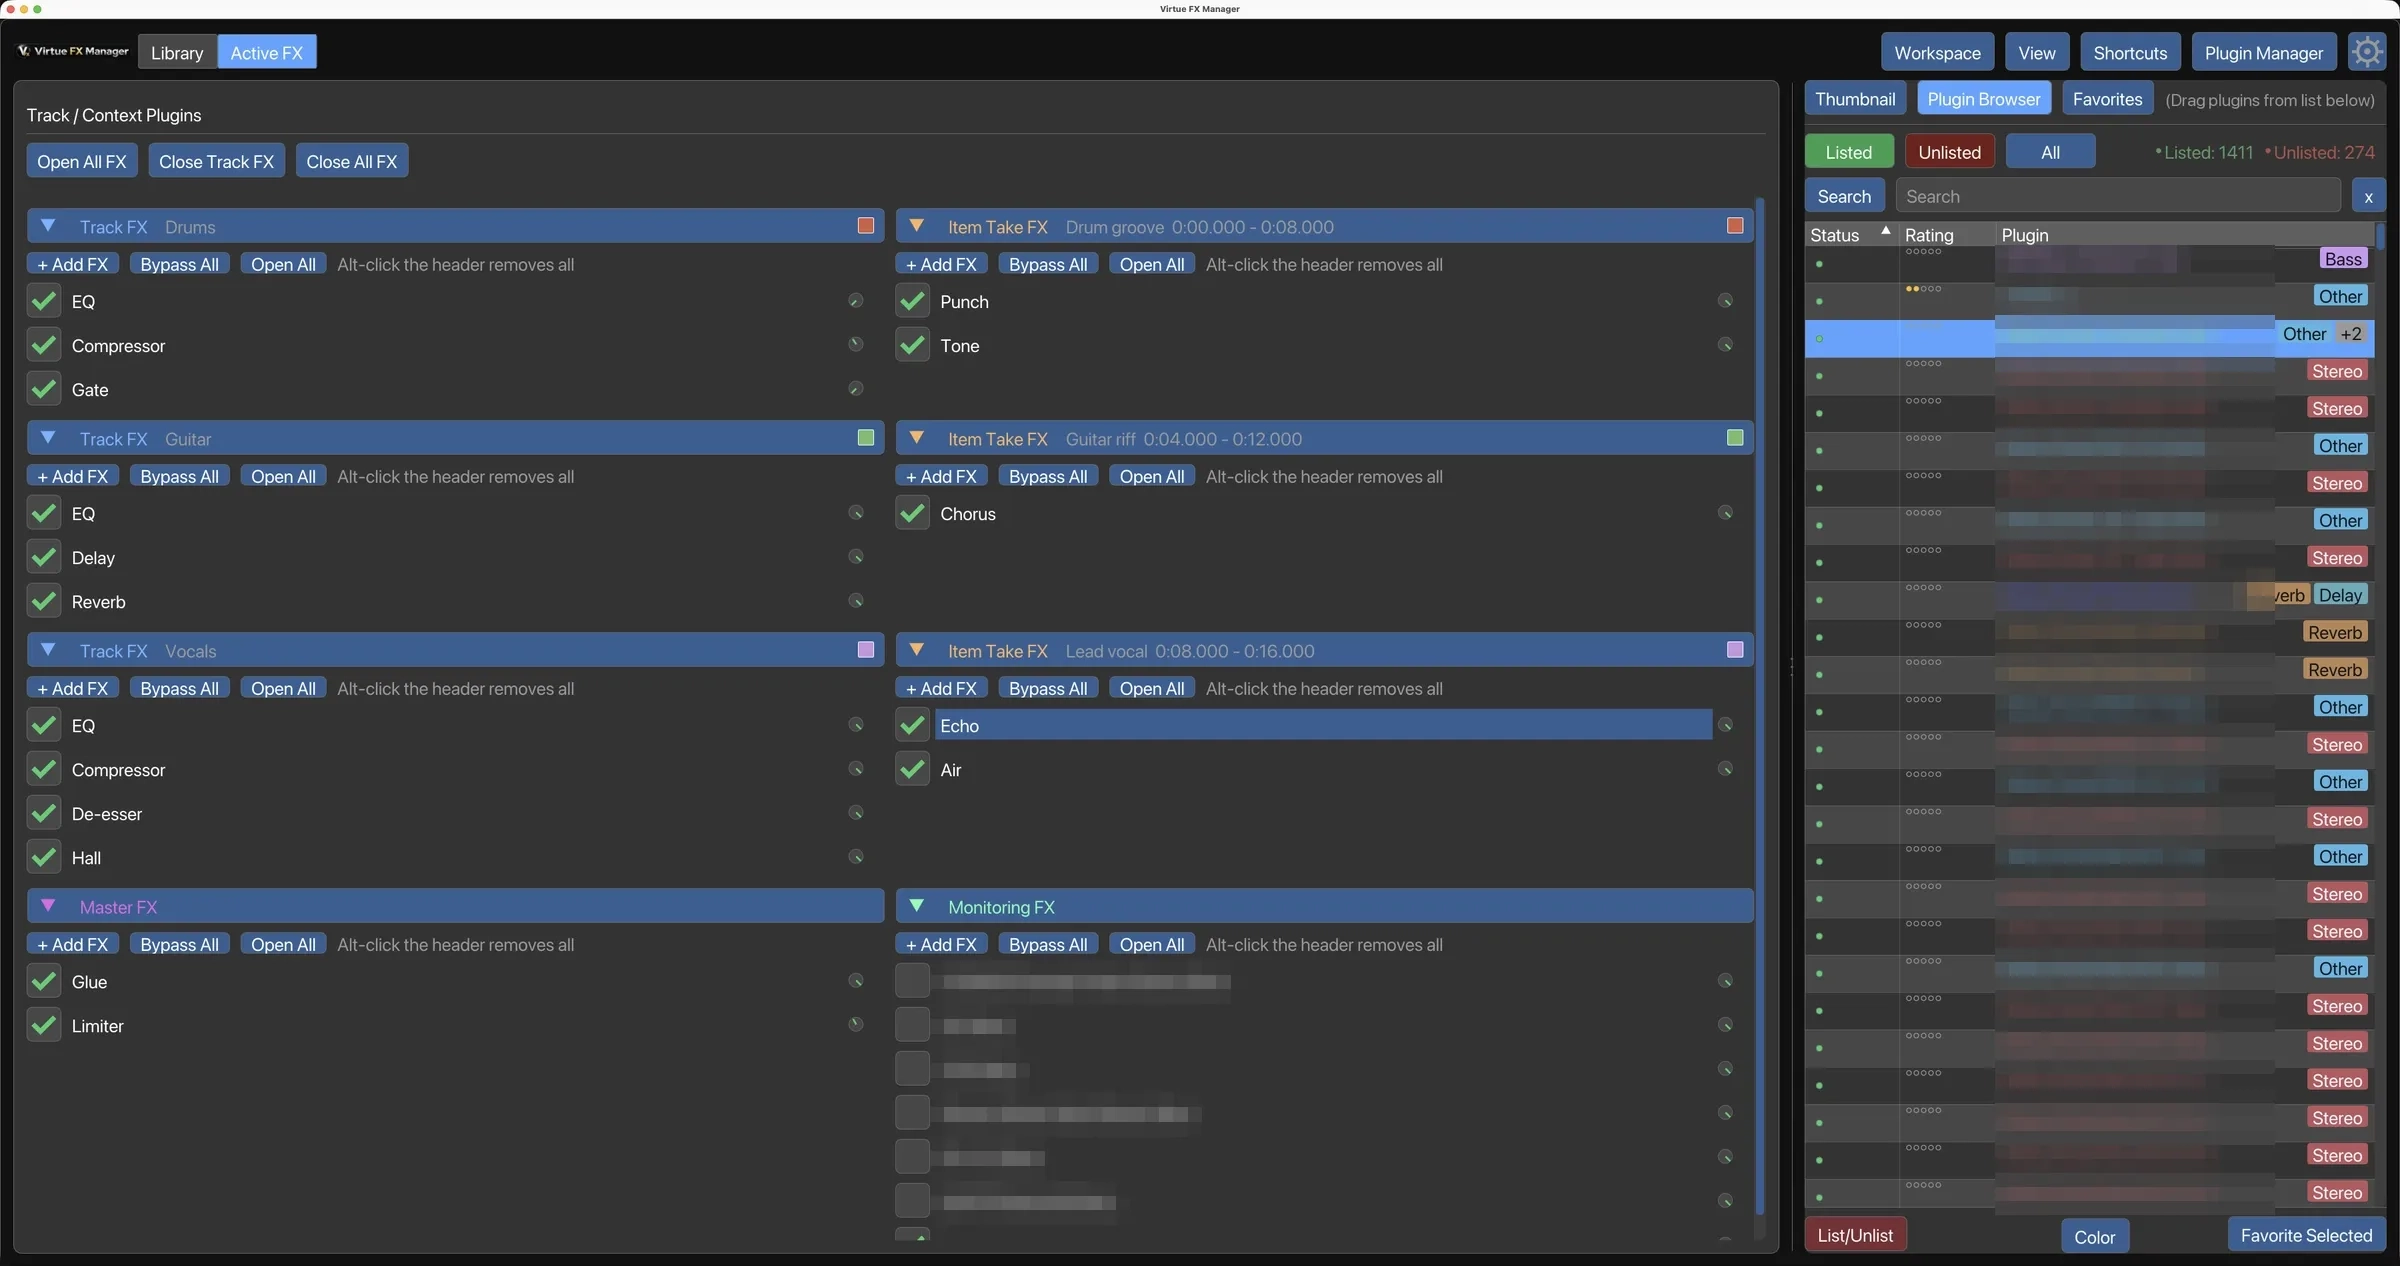
Section titled “Saved workspaces”From 1.2.3 a Workspace dropdown on the top bar, left of View, saves the window as you have it under a name and brings it back with one click. R cycles through your saved workspaces, wrapping after the last one. A workspace holds panel sizes and splitters, which panels show and whether their tab bars do, the plugin-list columns, dots or tags, the Active FX splitter, and which tabs are active — Library or Active FX, and the Favorites tab. Rename or delete a workspace from the same menu.
Override — save over the workspace you are in
Section titled “Override — save over the workspace you are in”Click a workspace to apply it, move a splitter, hide a panel, change the theme — and Override in the same menu writes what is on screen now over that workspace. One click, no dialog, no name to retype. From 1.2.5 the entry is labelled Update “<name>”, with the workspace it will overwrite in the label, and it is greyed out until you have applied one. (1.2.3)
Use Save Current Workspace… (from 1.2.5: Save as New Workspace…) instead when you want a new workspace rather than a change to the one you are in.
Export and Import Workspaces
Section titled “Export and Import Workspaces”At the bottom of the Workspace menu, Export Workspaces writes every saved
workspace to VFxM_Layouts.json in your Virtue/ data folder, and the status
line tells you the full path. Import Workspaces reads that same file back.
There is no file picker on either: copy the file to the other machine’s
Virtue/ folder and import it there. (1.2.3)
Import replaces what you have, as the shortcuts import does — one file is one arrangement of the machine. Workspaces with no name, or a name already used in the file, are skipped, and the status line counts both. Whichever workspace was ticked is un-ticked afterwards, so Override cannot write over a workspace the import replaced.
The same file is what travels with Shortcuts → Export Shortcuts, so that one export moves shortcuts and workspaces together. It is a different command on a different menu; either route moves them.
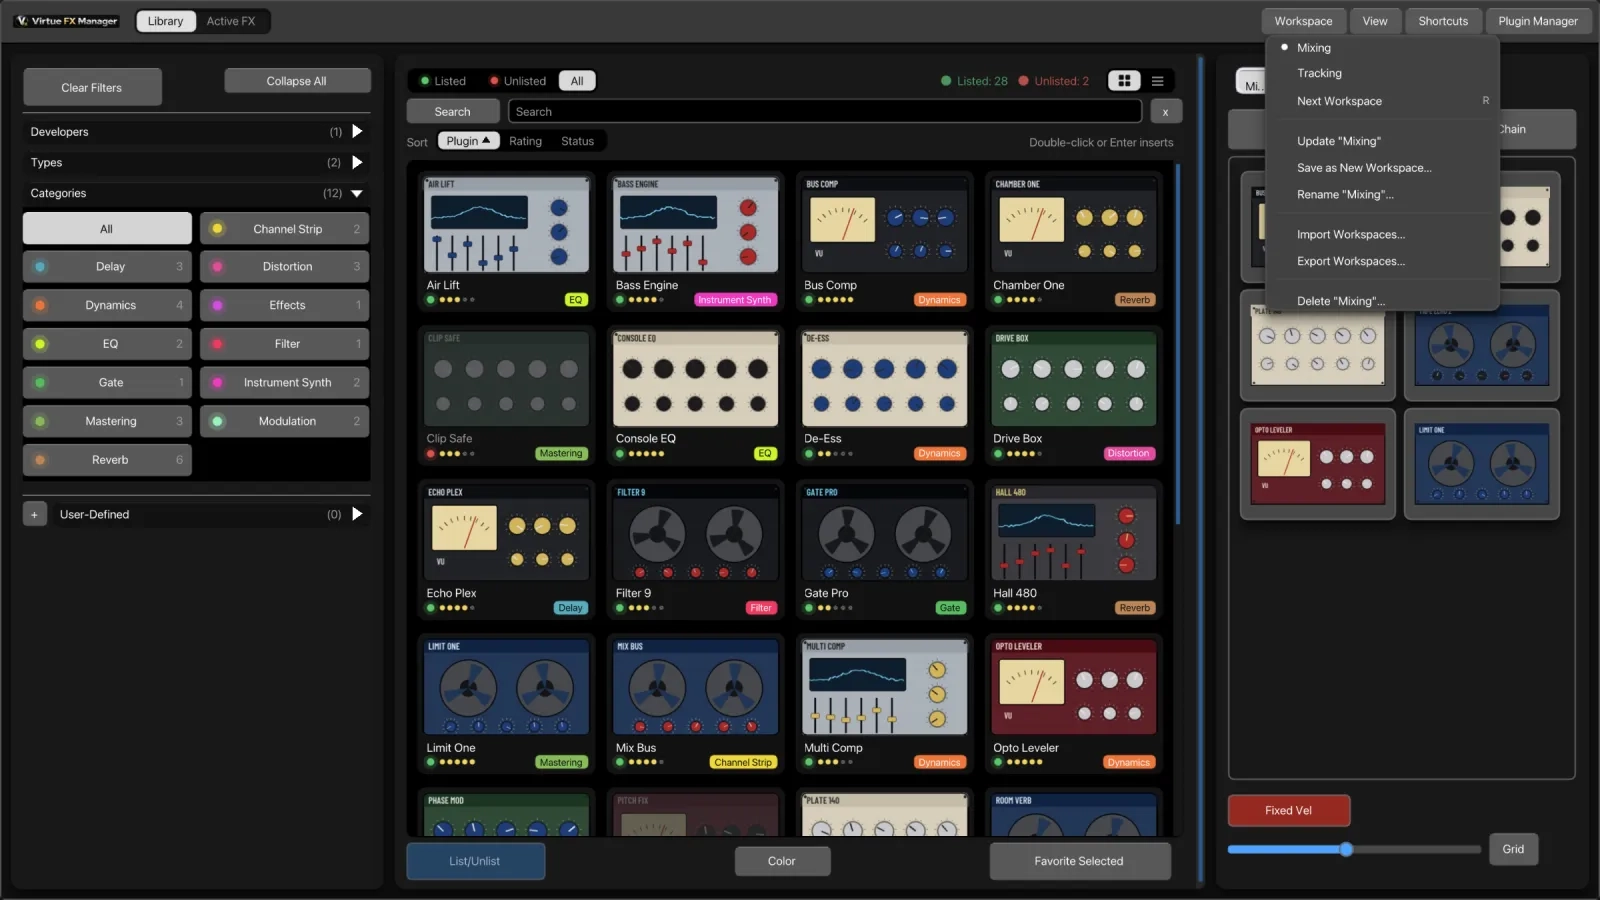
What a workspace can keep — which panels show, and how big they are. Four examples:
Workspaces are stored beside your shortcuts in the Virtue/ data folder (see
file locations) and travel with
Shortcuts → Export Shortcuts, so one file moves both. Import replaces, as
the shortcuts import does.
Where this fits
Section titled “Where this fits”- Auto thumbnail scanner — the scanner and its thumbnail folder live in Plugin Manager, not here.
- Categories manager — category colors and overrides are managed separately, in Plugin Manager.
- Keyboard shortcuts — the full shortcut reference.